
3D Printer Modifications
In June of 2021, my wife made a decision that she may now regret – she let me purchase an Ender 3 V2. Since then, I’ve spent countless hours (and more money than I’d like to admit) printing with it, upgrading it, and fixing it. While a Bambu X1 might have produce better prints, slowly upgrading the Ender has taught me a lot about how 3D printers work.
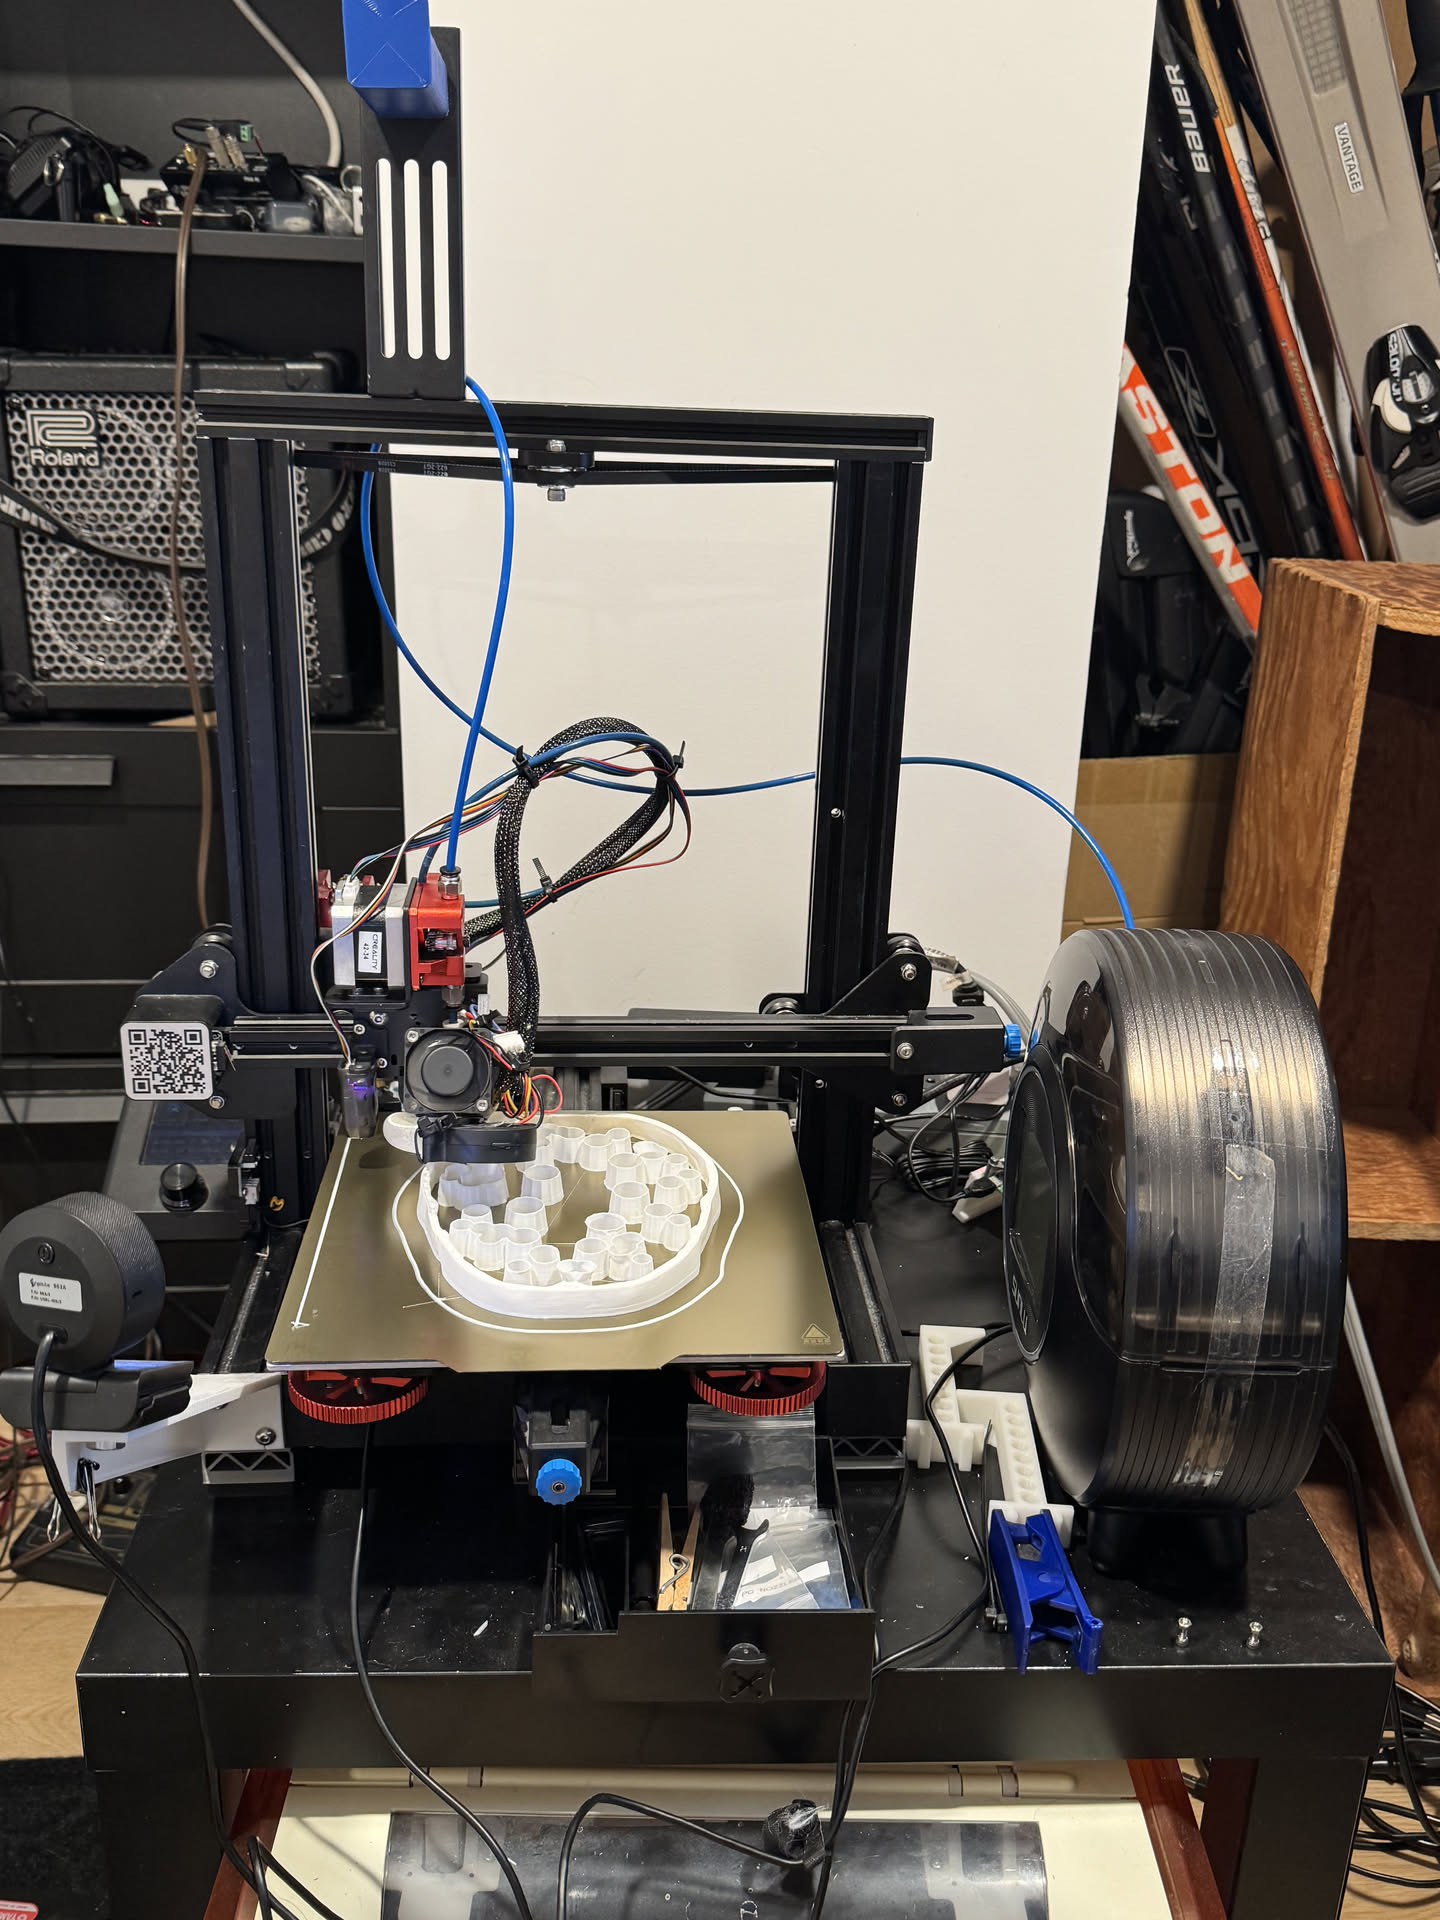
Below is a list of modifications I’ve made with brief comments on each:
mriscoc firmware
The mriscoc version of the printer firmware adds a number of features that the Creality firmware lacks. It’s an easy, free upgrade that vastly improves the usability of the printer.
Octoprint with print camera
Octoprint provides a web interface for the 3D printer. If you have a free computer/raspberry pi/android phone, it also provides a massive upgrade in usability for the printer for relatively low effort.
If you use a raspberry pi, make sure to use a 5.1V power supply (not a 5V supply), or the processor will be throttled by the reduced voltage. This can cause reduced print quality, and will cause the video feed to be extremely laggy.
Tasmota
I purchased several SONOFF S31 smart plugs, opened them up, and reflashed the firmware to use Tasmota. Each acts as a local server that accepts MQTT commands to control the switch. An octoprint plugin connects to the smart plug, allowing the printer to be powered off after printing or during a thermal runaway event, reducing the risk of fire.
Upgraded bed springs
I replaced the old bed springs with stiffer springs, reducing the need to re-level the bed. Although helpful, this upgrade was rendered mostly redundant by purchasing a probe for automatic bed levelling.
PEI Build Plate
I replaced the original build plate with a flexible, magnetically attached PEI sheet. This upgrade was definitely worth the price – adhesion improved, while the flexible plate made it easier to remove finished prints.
Quieter main board fans
To reduce the noise from the printer, I purchased the following parts:
printed the following parts:
and installed them in the printer. This noticeably reduced the noise from the printer being turned on from ~45 dB to ~30 dB.
Mini Me Fan Duct
To further reduce printer noise, I purchased the following parts:
and printed the following part out of PETG:
This improved part cooling and reduced the noise of the printer when turned on. However, it made maintenance slightly more complicated/fiddly.
Dual Z-drive with synch belt
I noticed slop in my X gantry, which made it challenging to keep the bed level. It also appeared to be causing Z banding in my prints. To address this, I purchased the following kits:
Because the mainboard doesn’t have any spare stepper motor outputs, I used the same output to drive both motors. The belt keeps the two Z screws synchronized when the printer is turned off. This upgrade helped keep my bed remain “level” and ensured that my Z axis was normal to the build plate.
Dual-gear extruder
The stock extruder has two problems: it tends to break easily, and can easily slip when performing fast retractions. I replaced it with a dual-gear all-metal extruder to address the two issues. This noticeably increased my retraction performance.
Direct Drive extruder
To further improve retraction performance, I converted the printer to a direct-drive printer. Initially, I used a 3D printed direct drive mount, but found it was too flexible to improve retraction performance. I then purchased a direct-drive kit, which was stiffer and performed better.
Automatic bed leveling
To remove the need to manually level the bed, I purchased and installed a bed leveling sensor. This upgrade requires a firmware change, but is very worth it for the increase in convenience. It also reduces the risk of crashing the tip into the build plate, so it potentially has paid for itself in the long run.
Filament drier
I initially dried my filament by wrapping it in aluminum foil, placing it on the heated print bed, and using a thermometer to gauge the internal temperature. However, this meant that the filament would start adsorbing moisture as soon as drying had finished. To fix this, I purchased a filament dehydrator container and rechargeable dessicants. I ran tubing from the filament drier to the extruder head and designed a dessicant holder to place in the middle of the filament spool. Together, they helped keep the filament dry over extended periods of time, making it easier to start printing something after leaving the printer dormant.